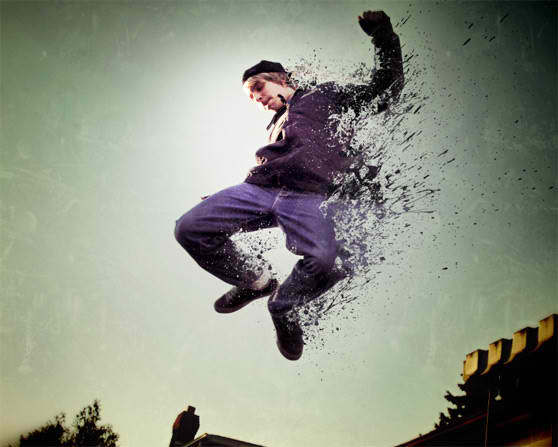
Dispersion effect in Adobe Photoshop

You need to download paint splatter brush set. Download it here.
1. Copy and paste the photo into a new PS document. I sized mine down to 2500px wide. Using the Quick Selection Tool (W), I made a selection of the guy and copied and pasted him to a new layer. I then loaded the selection again, and with the background layer selected, I chose (Edit | Fill | Content Aware).
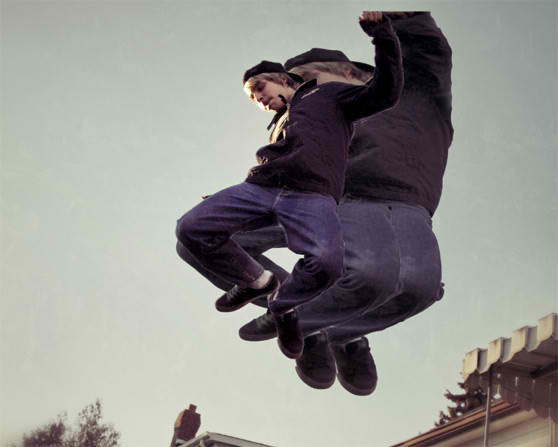
2. Select the bottom most guy layer and press (Ctrl+T) to transform him. Stretch the guy horizontally.
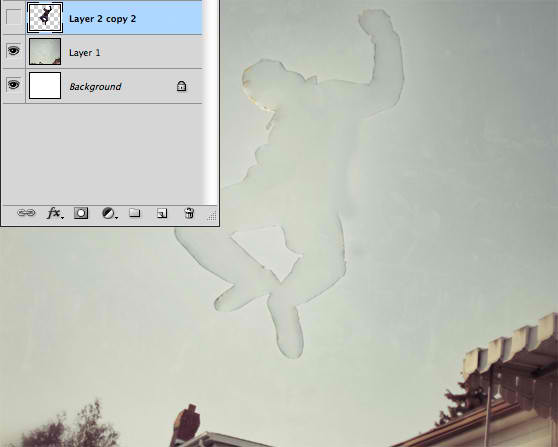
3. Select the distorted guy layer and click the layer mask icon at the bottom of the layers palette. Fill the mask with solid black.
4. Now use the splatter brushes to reveal portions of the layer by clicking the mask using solid white as the foreground color.
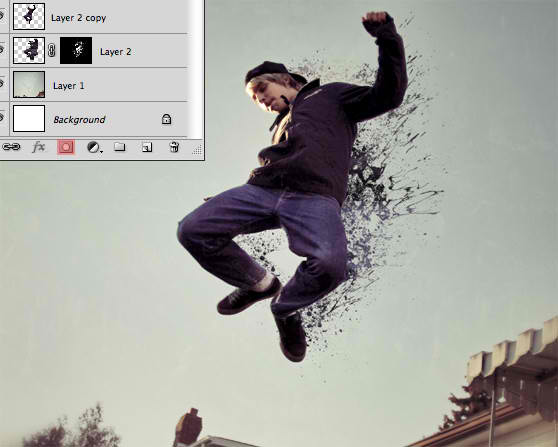
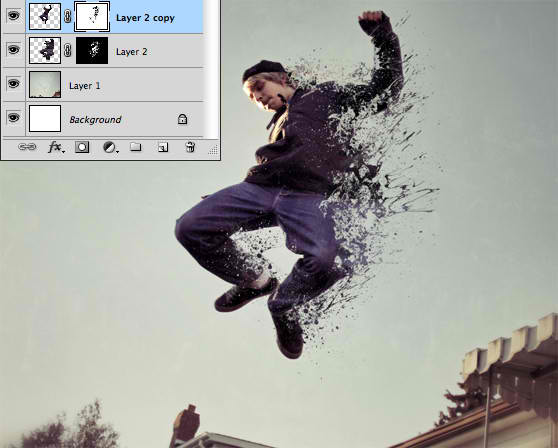
For the top non-distorted guy layer, we also want to create a layer mask. But this time we want to leave it solid white, and use a black splatter brush to remove portions of the guy to reveal some of the background.
For the top non-distorted guy layer, we also want to create a layer mask. But this time we want to leave it solid white, and use a black splatter brush to remove portions of the guy to reveal some of the background.
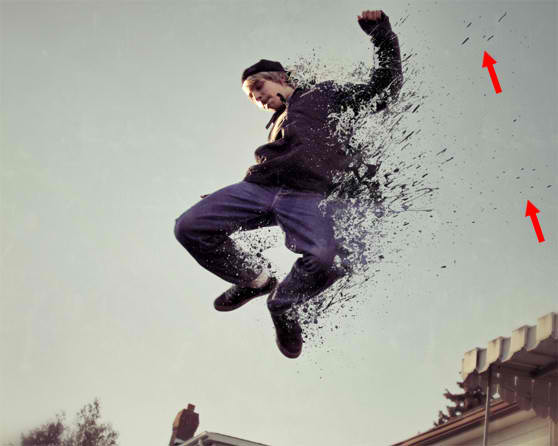
5. For the final touches, add a bit of vignette and highlight. But before that… I took one large dark splatter and placed it on a layer behind the guy. I basically just wanted to see some light splatters that fell beyond the distorted guy’s layer mask.
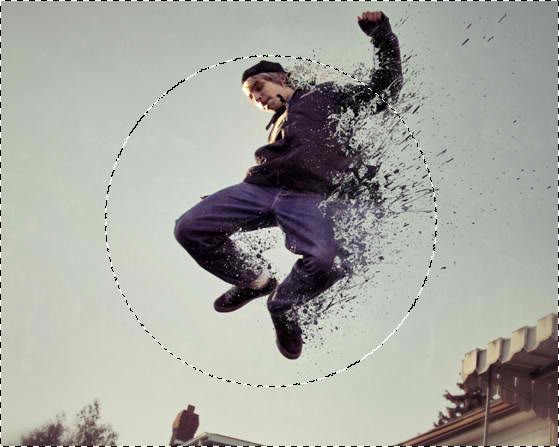
6. For the vignette, switch over to Quick Mask Mode (Q), and choose a very large soft black brush and click once in the center of the image.
Switching out of QMM you’ll see that we have a selection that excludes the very center of the image. The selection is also nicely feathered due to our soft black brush.
7. Now create a new Levels Adjustment Layer above all other layers, and adjust as follows.

8. For the final touch, lets add a highlight. Create a new layer above the guy layer, and set its blending mode to Opacity. Now with a soft white brush make 1 or two clicks over the guys head and torso. You may need to reduce the opacity of this layer down to 50% or 60% depending on how hot the highlight appears.