Visual Studio 2010: Deploying your projects together with the database.
This guide is created by my co-BSIT student Stephen. Credits to him. You can download the doc file here.
STEP 1:
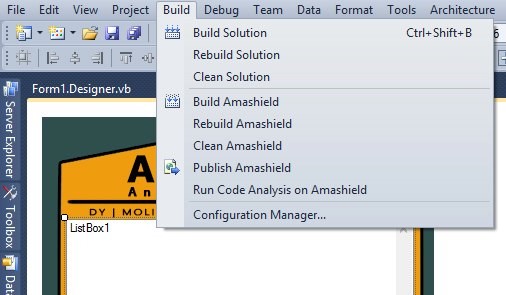
Open your project and click BUILD then click the Configuration Manager.
STEP 1:
Open your project and click BUILD then click the Configuration Manager.
STEP 2:
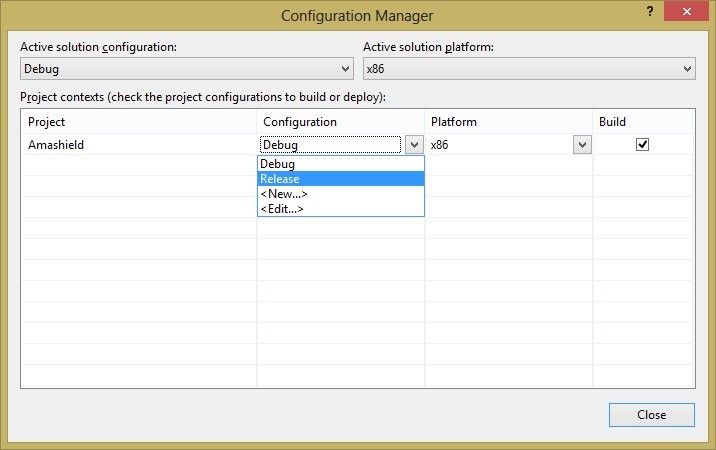
Configuration Manager dialog box appear. Just select Release in Configuration and close.
Configuration Manager dialog box appear. Just select Release in Configuration and close.
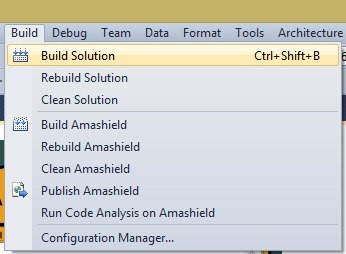
STEP 3:
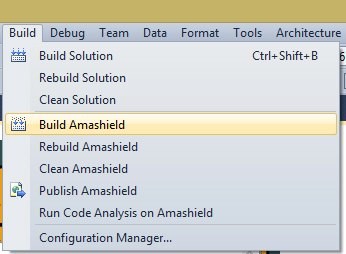
Build your project. After Building your project, click the Build Solution
Build your project. After Building your project, click the Build Solution
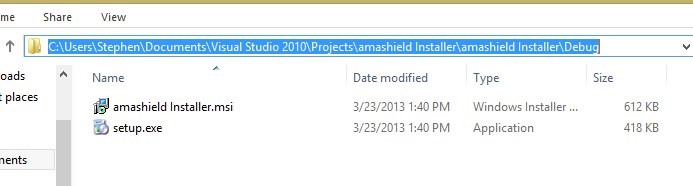
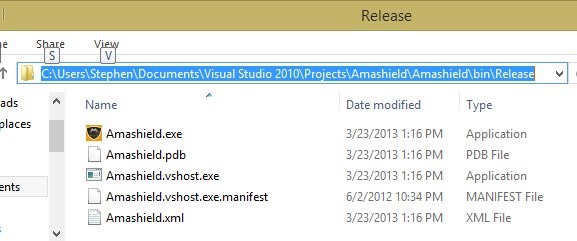
After Building Solution, you should see files something like this in your Project folder.
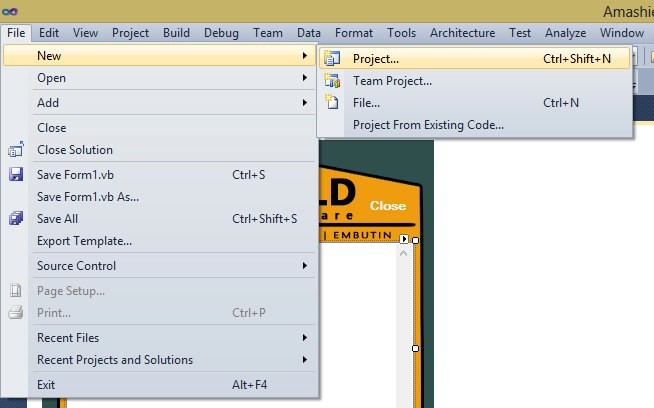
STEP 4:
Create a new project
Create a new project
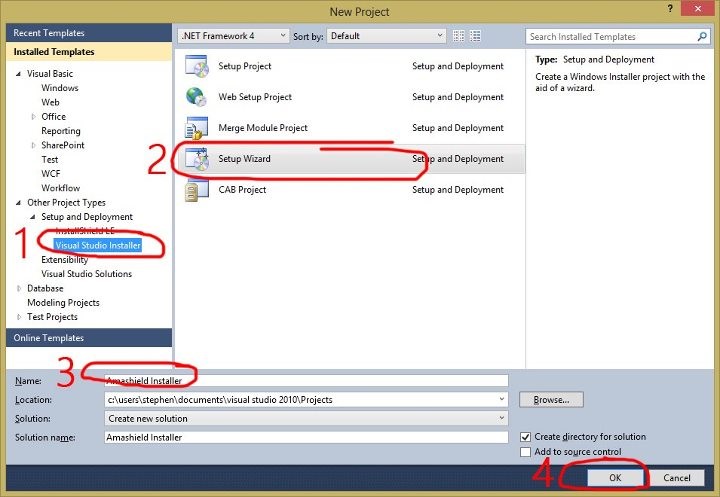
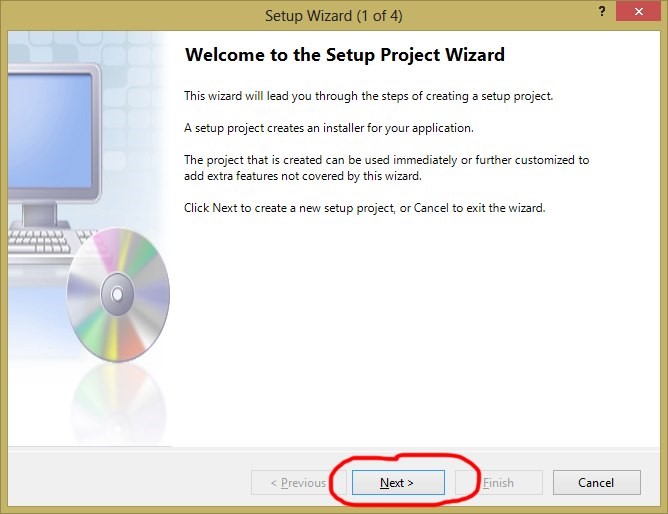
STEP 5:
New project dialog box appears, follow the steps in the picture below.
New project dialog box appears, follow the steps in the picture below.
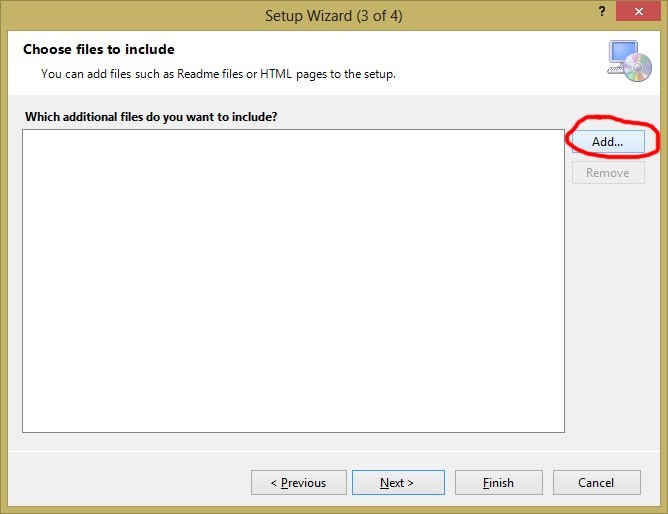
STEP 6-7
Follow the images below:
Follow the images below:
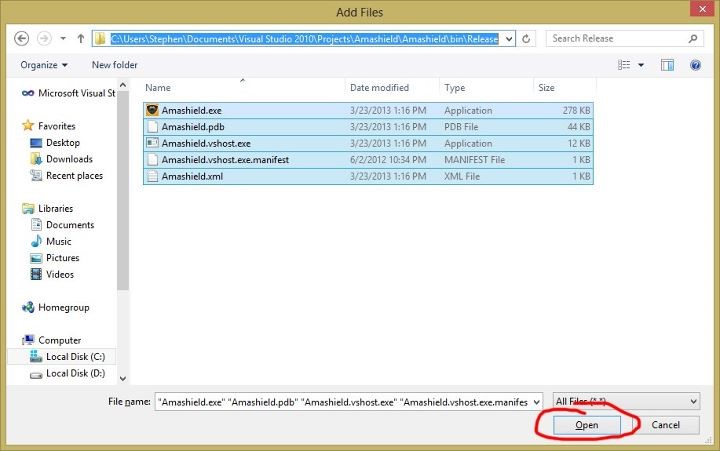
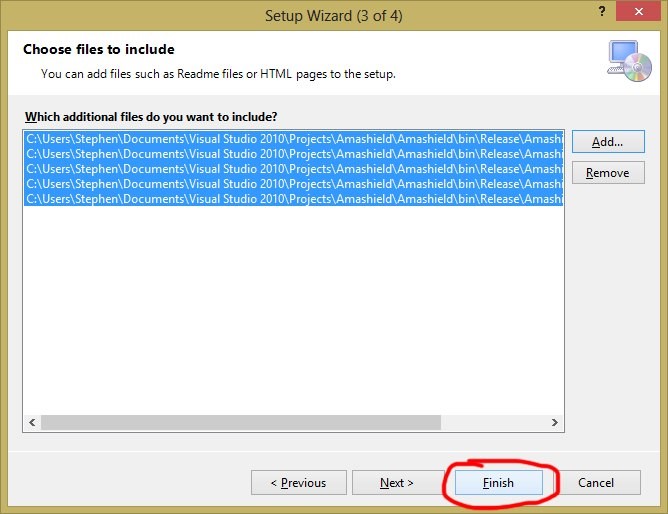
STEP 8-9:
Add all the files in the Release folder in your Project folder you newly build files a while ago.
Add all the files in the Release folder in your Project folder you newly build files a while ago.
STEP 10:
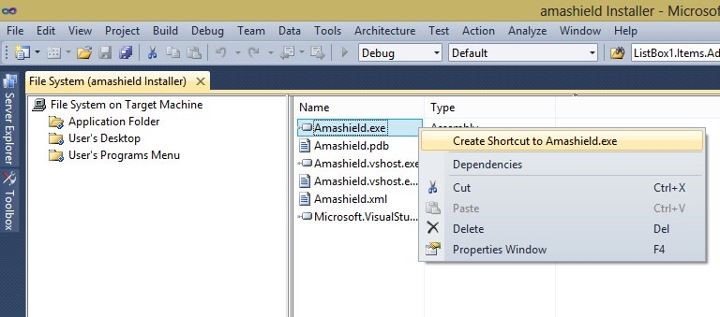
Below File system on target machine click the Application Folder, you should see the files you added in the right side. Then you can now create a shortcut to your system as you can see in the picture below. You can also add icon to the shortcut.
Below File system on target machine click the Application Folder, you should see the files you added in the right side. Then you can now create a shortcut to your system as you can see in the picture below. You can also add icon to the shortcut.
STEP 11:
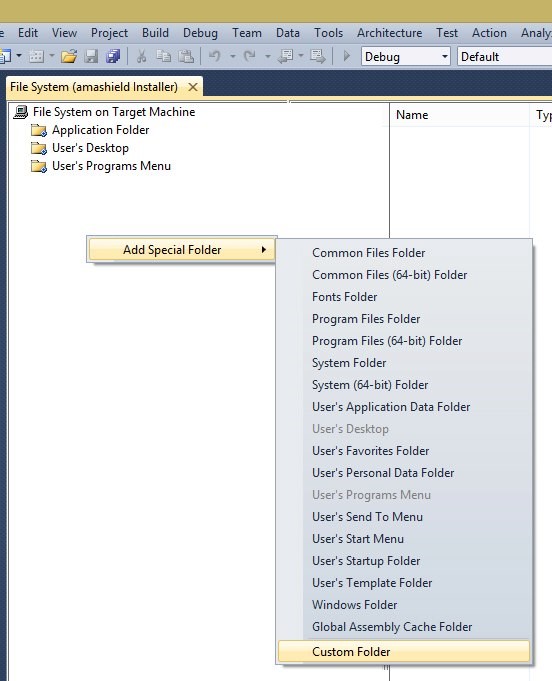
Create a custom folder for your database.
Create a custom folder for your database.
STEP 12:
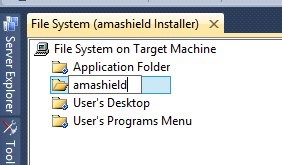
Name it the same with your database name located in the mysql/data folder in xampp.
Name it the same with your database name located in the mysql/data folder in xampp.
STEP 13:
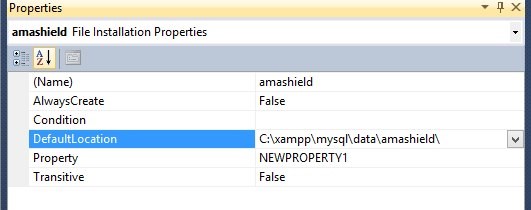
Locate and copy the location of your database, like the picture below using File Explorer.
Locate and copy the location of your database, like the picture below using File Explorer.
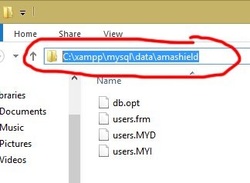
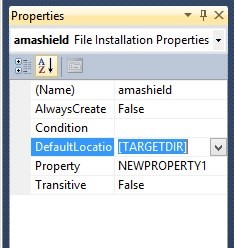
After copying, open your installer project, with the database folder clicked, you can see its properties and paste your copied location in the Default Location.
STEP 14:
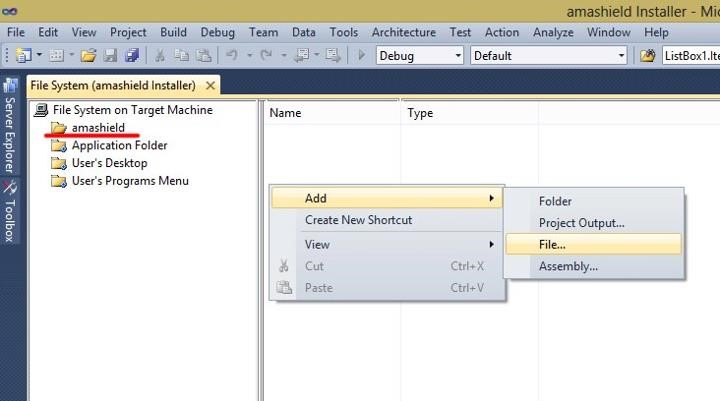
After setting up the Default Location of the database, click again the database folder and in the right side, right-click and add files.
After setting up the Default Location of the database, click again the database folder and in the right side, right-click and add files.
STEP 15:
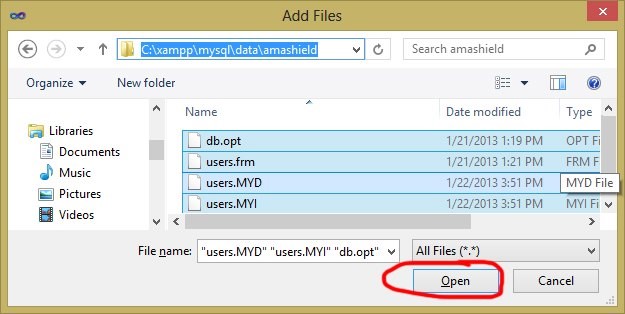
Locate the folder of your database in mysql/data in xampp and add all the files.
Locate the folder of your database in mysql/data in xampp and add all the files.
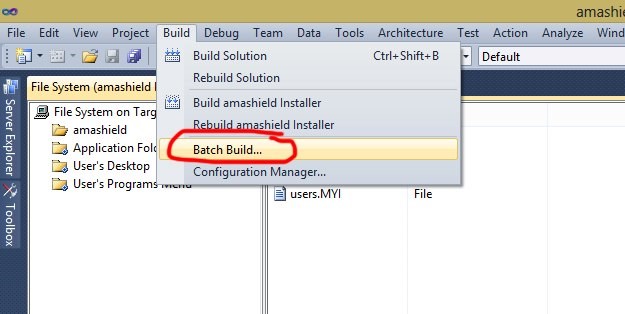
STEP 16-17:
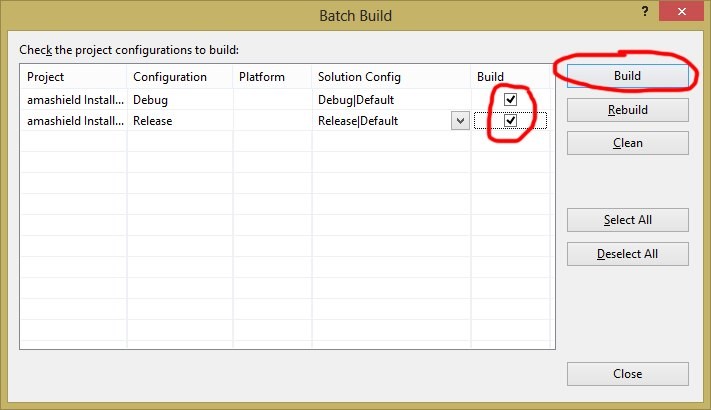
After adding all the database files, configure the Batch Build and follow the steps below.
After adding all the database files, configure the Batch Build and follow the steps below.
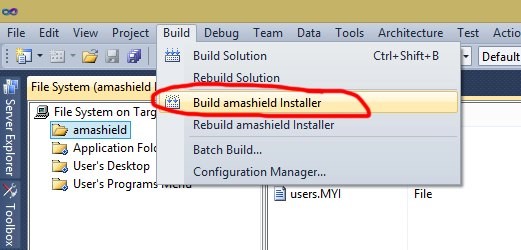
STEP 18:
Wait until the building the project is done.
Wait until the building the project is done.
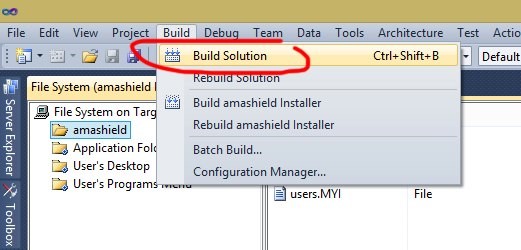
STEP 19:
Build solution again and wait until it is complete
Build solution again and wait until it is complete
STEP 20:
FINALLY, after building, you can see the two files in the DEBUG folder in your Installer project folder.
That two files is now your installer of your system.
FINALLY, after building, you can see the two files in the DEBUG folder in your Installer project folder.
That two files is now your installer of your system.